Amazon 於 2014 年推出了 Alexa 智慧語音助手,就目前來說 Alexa 應該已經是家喻戶曉的東西了。透過 Amazon Echo 搭配 Alexa 就能讓冷冰冰的機器能與使用者對話,而要做到這樣的事情在其背後是需要龐大的架構來支撐的。在整個 Alexa 生態系中有兩個重要的東西,第一個是 Alexa Voice Service (AVS),它是讓機器與人溝通重要的中樞神經,所有接收到的語音檔案都會傳至 AVS 加以解析並判斷,再回覆給使用者。第二個是 Alexa Skills Kit (ASK),它是讓人能有客製化的語音命令,透過 ASK 能控制設備或更多的功能 (像是訂購 pizza 等),藉由 ASK 來強壯整個 Alexa 的生態系。所以,本文會先簡單介紹 AVS 與 ASK,在以一個簡單的教學說明如何客製化一個自己的技能。
什麼是 AVS?
首先,我們要先了解何謂 Alexa Voice Service (AVS),這是使用者每對 Echo 說話時,都一定會用到的服務。如下圖所示,Echo 不斷的偵測,並且在接收到喚醒詞 Alexa 後,開始將喚醒詞後面的語音 What time is it 傳送至 AVS。而 AVS 接收到語音串流後,會將語音轉文字,並加以分析該語音的意思,最終 AVS 將文字結果回覆給 Echo 並由 Echo 將文字給說出來。
ASK 與 AVS
可能大家會開始思考,那我要控制家裡的家電 Alexa 是又如何能明白家中的裝置與開關。這是 Amazon 提供了 ASK 讓大家能客製化自己的語音命令以達到控制家電或者查詢特定資料等功能。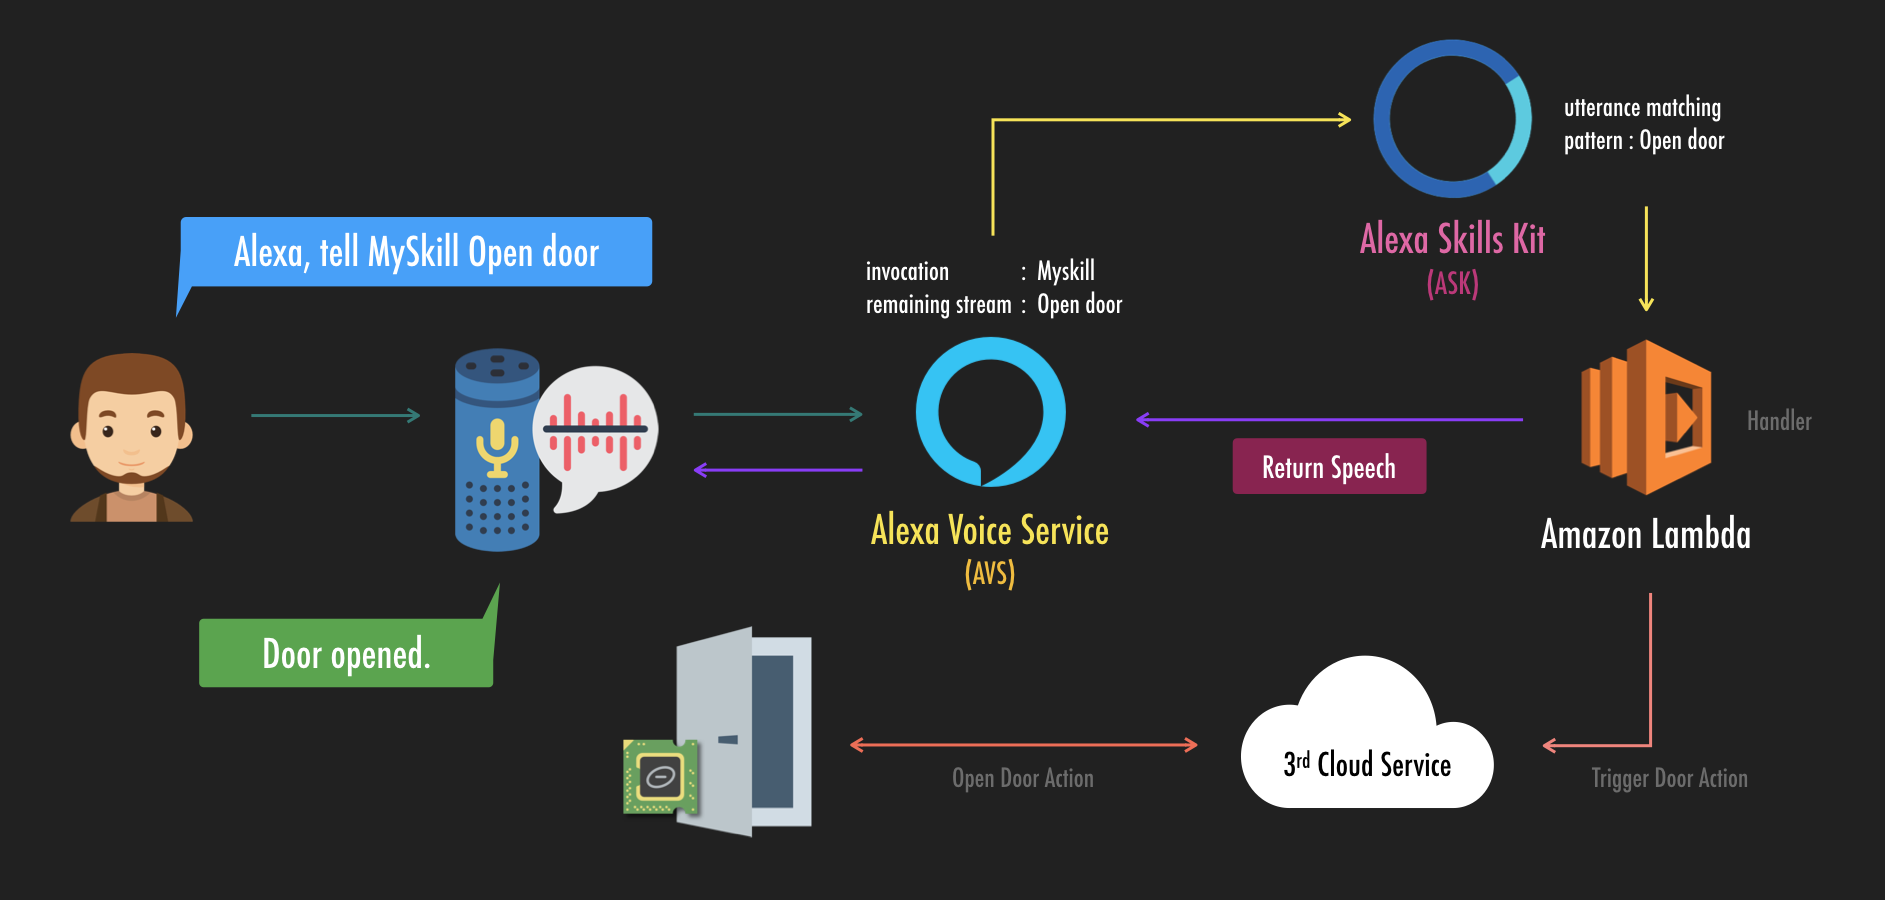
如上圖所示。是一個客製化技能與 AVS 之間的流程。假設使用者對家中 Echo 說「Alexa, tell Myskill Open door」,其語音串流與資料流如下:
- Echo 不停偵測 Alexa 這個喚醒詞,當接收到後喚醒 Alexa 將喚醒詞後面語音串流傳送至 AVS。
- AVS 將語音串流進行辨識並將其轉為文字,轉文字後再將其切割成要被激活的應用
Invocation(此例為 Myskill) 以及其他已被辨識為文字的命令句Intent(此例為 Open door)。 - AVS 根據
Invocation找到對應的客製化技能內所設定的範例詞彙 (sample utterances) 進行比對,若符合則觸發該Intent。 - AWS Lambda 會事先定義好各個
Intent被觸發時要執行的事件,所以步驟 3 觸發的Intent就會執行 Lambda 中對應的事情。 - 最後將處理結果與回覆的語音等等回傳至 AVS,而其中語音部分會被 Echo 播出。
以上大概是一個客製化技能的流程。而要出發該客製化技能有對話形式與命令形式兩種形式,差異如下圖。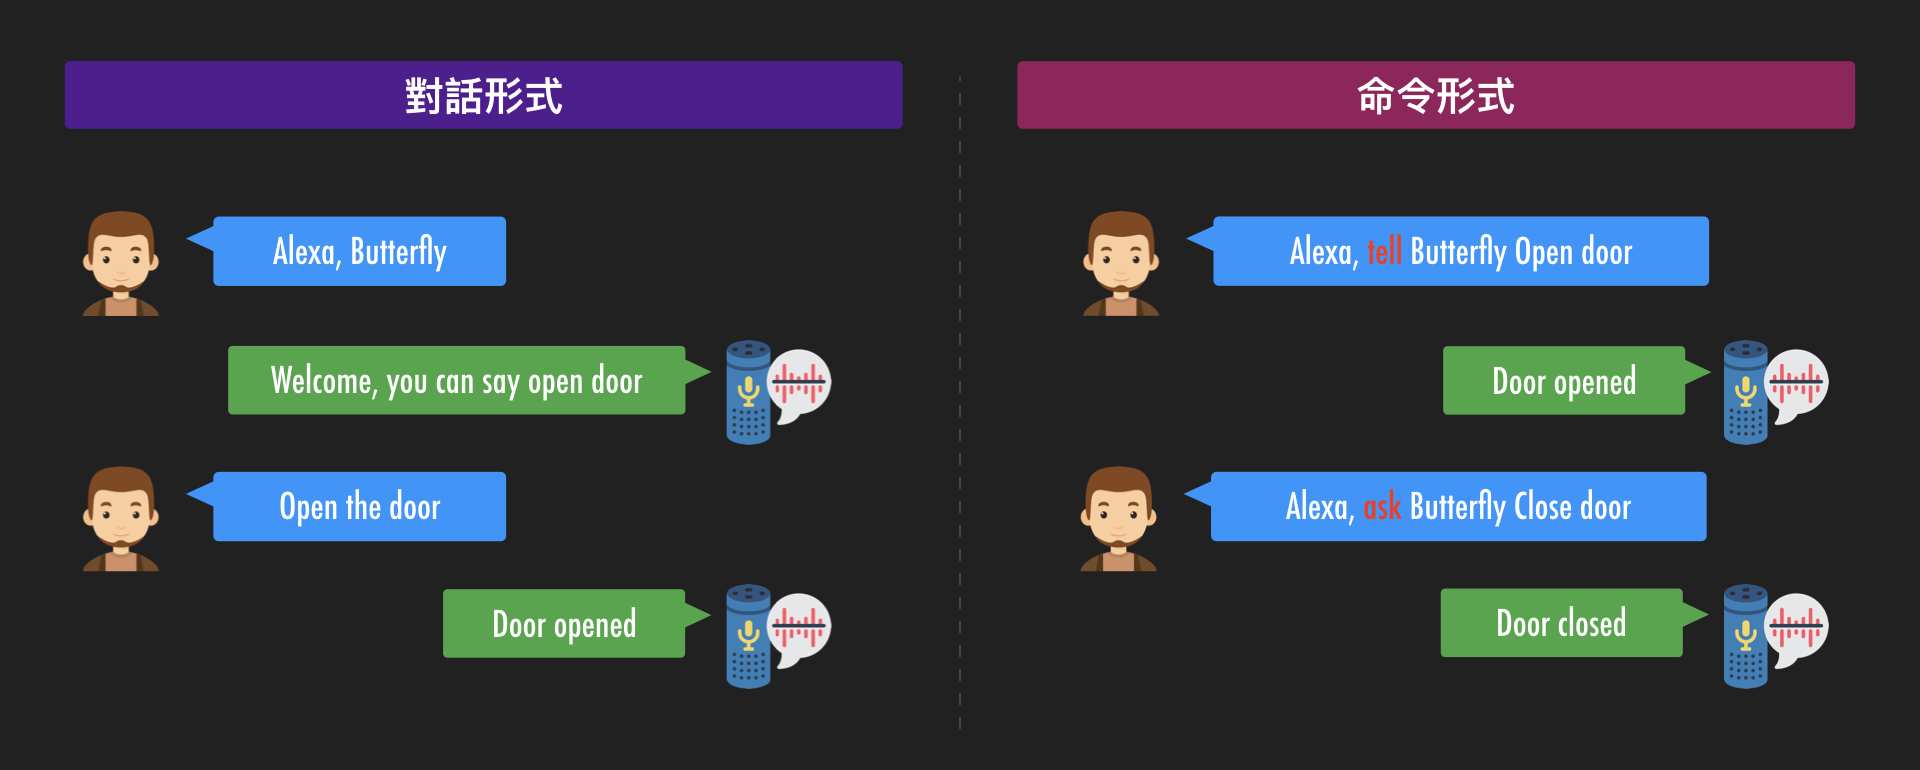
有了一些基本的了解後,讓我們開始建立一個自己的 Alexa 客製化技能吧!
建立自己的 Alexa Skill
首先,打開瀏覽器並存取 Alexa 網頁。登入後,上方導航列選擇 [Alexa] 再選擇 [Alexa Skill Kit] 進入 Alexa Skills Kit (ASK) 的 console 頁面。
接著,我們點選右邊的 [Create Skill] 按鈕來建立自己的 Alexa Skill。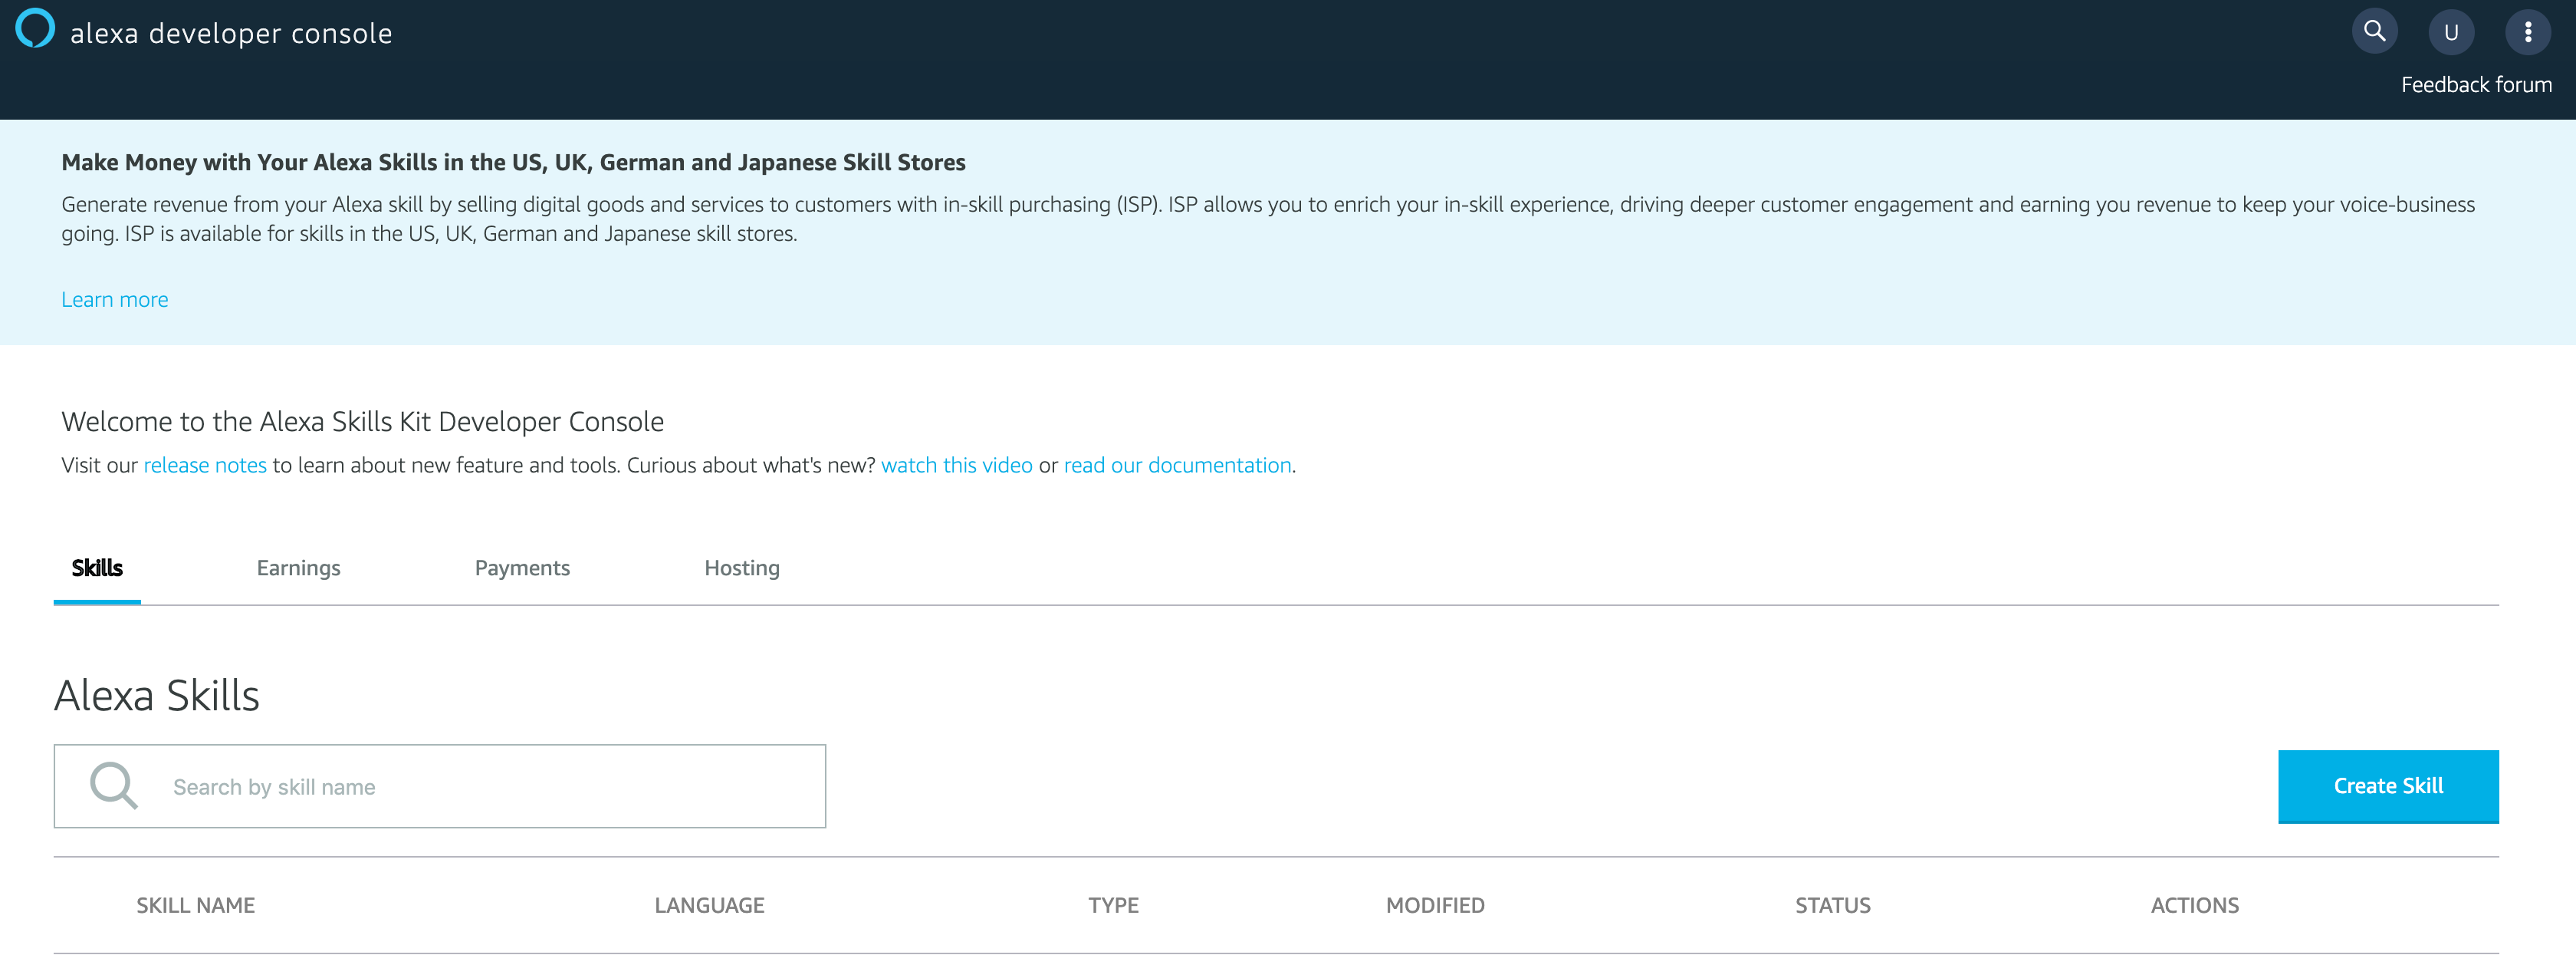
第一件事情當然是要輸入 Skill 的名稱,而這個名稱最後會是你在 Alexa Store 上的名稱。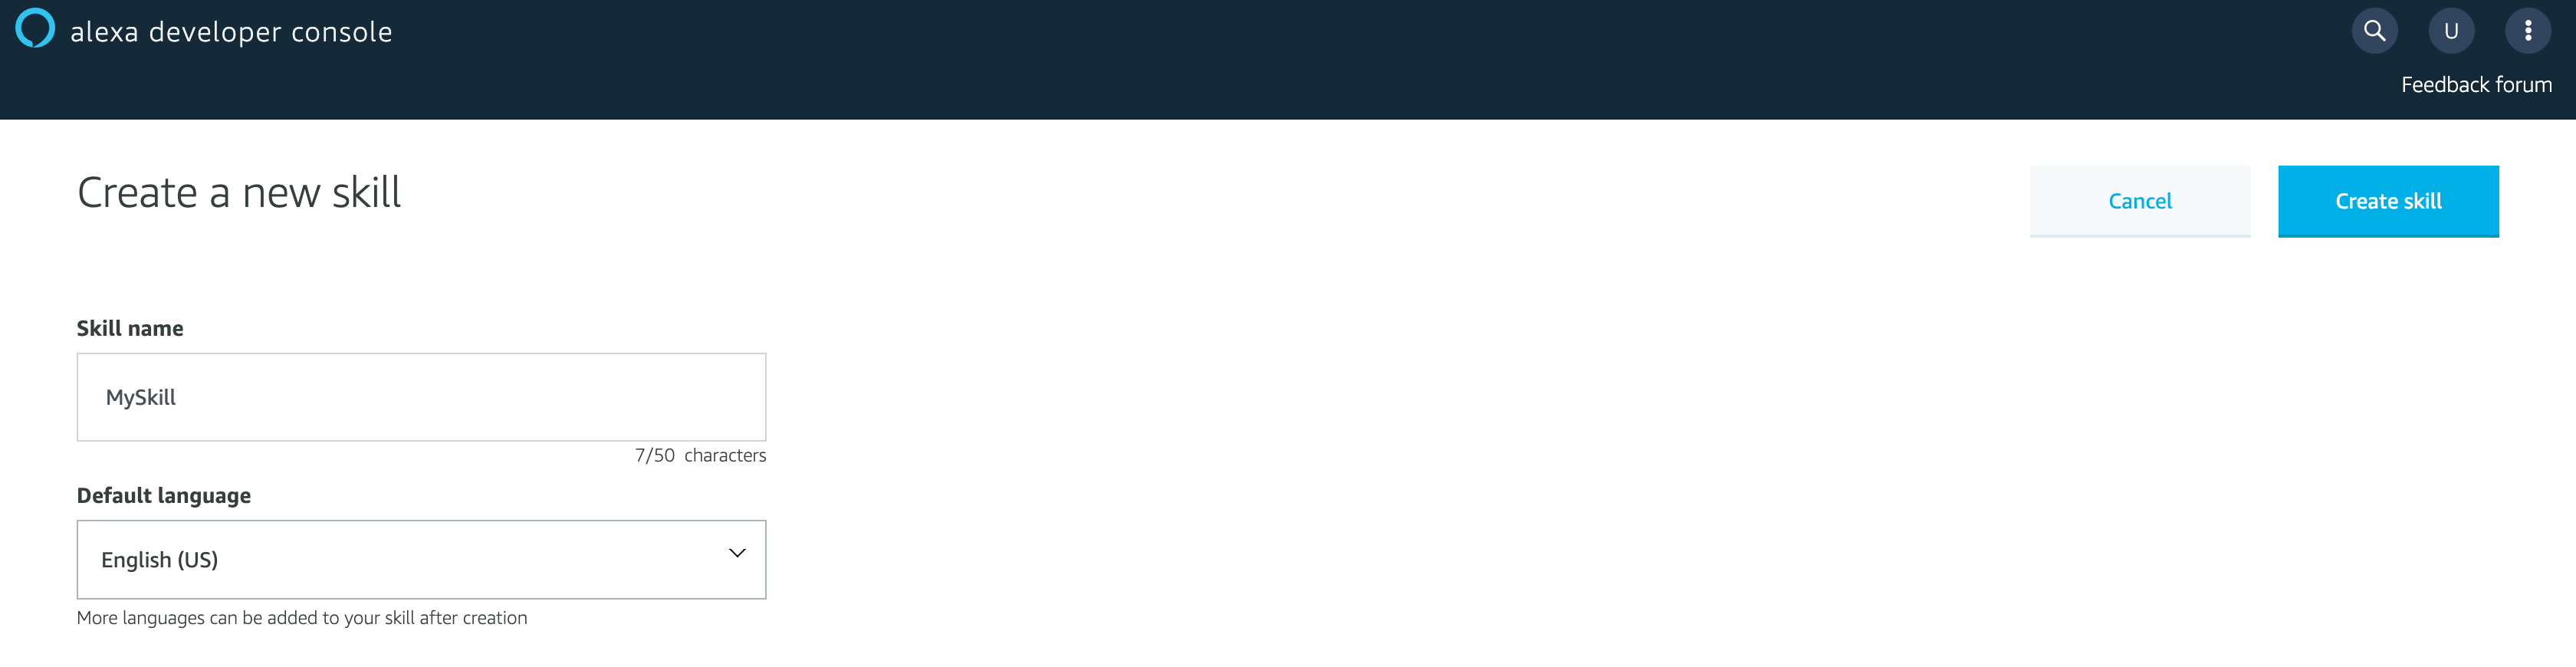
選擇 Alexa Skill 的模板,每個模板在設定與使用上都有不同,所以這邊請依照自己情境選擇最合適的。而這邊為範例所以選擇 [Custom]。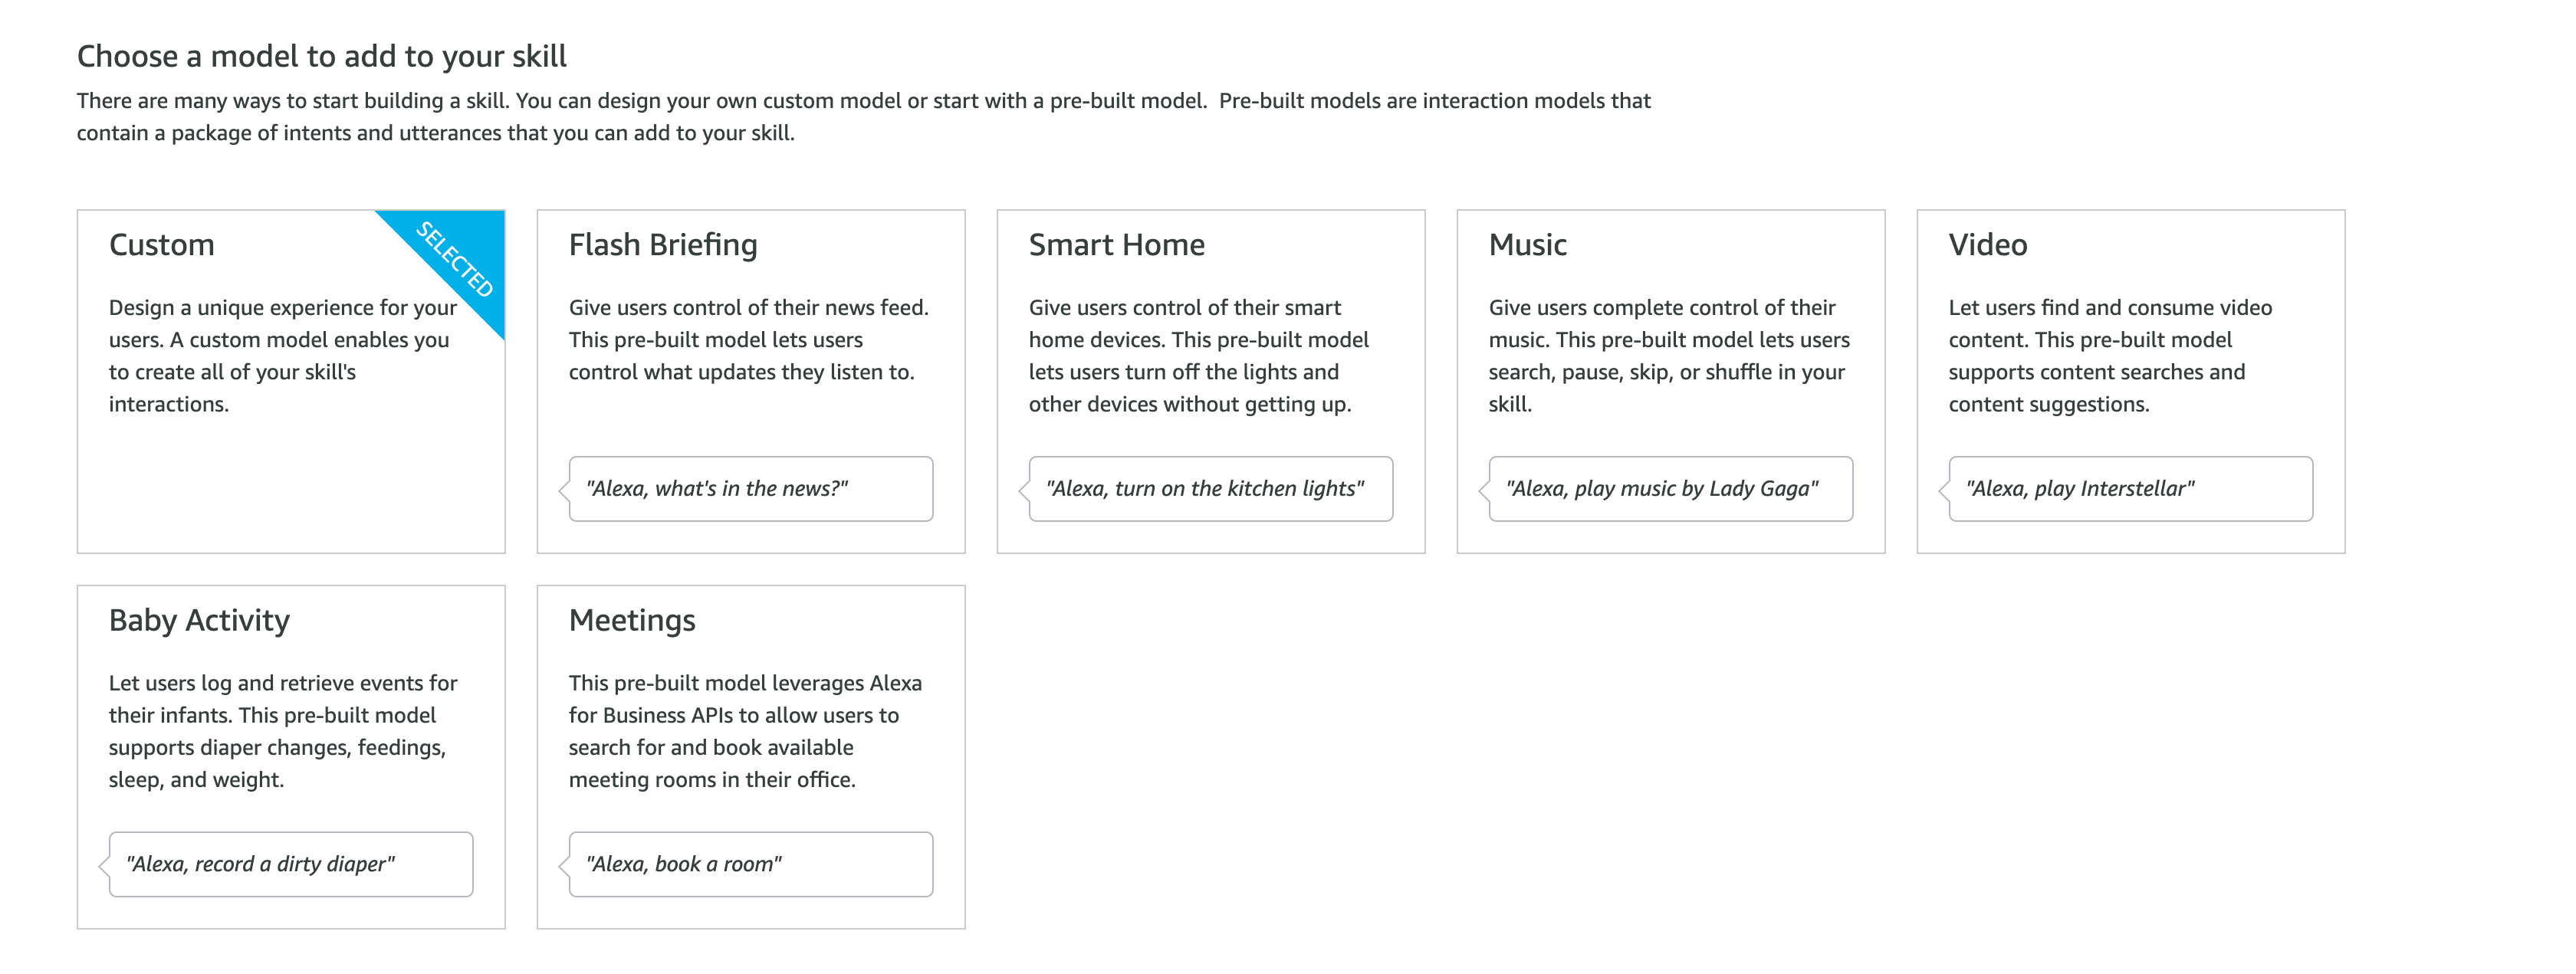
Alexa Skill 都需要一個 backend,讓語音命令執行時告訴它應該要做什麼事情。而目前 Alexa 提供了 Provision your own 與 Alexa-Hosted 兩種方式。而這邊為範例所以選擇 [Alexa-Hosted]。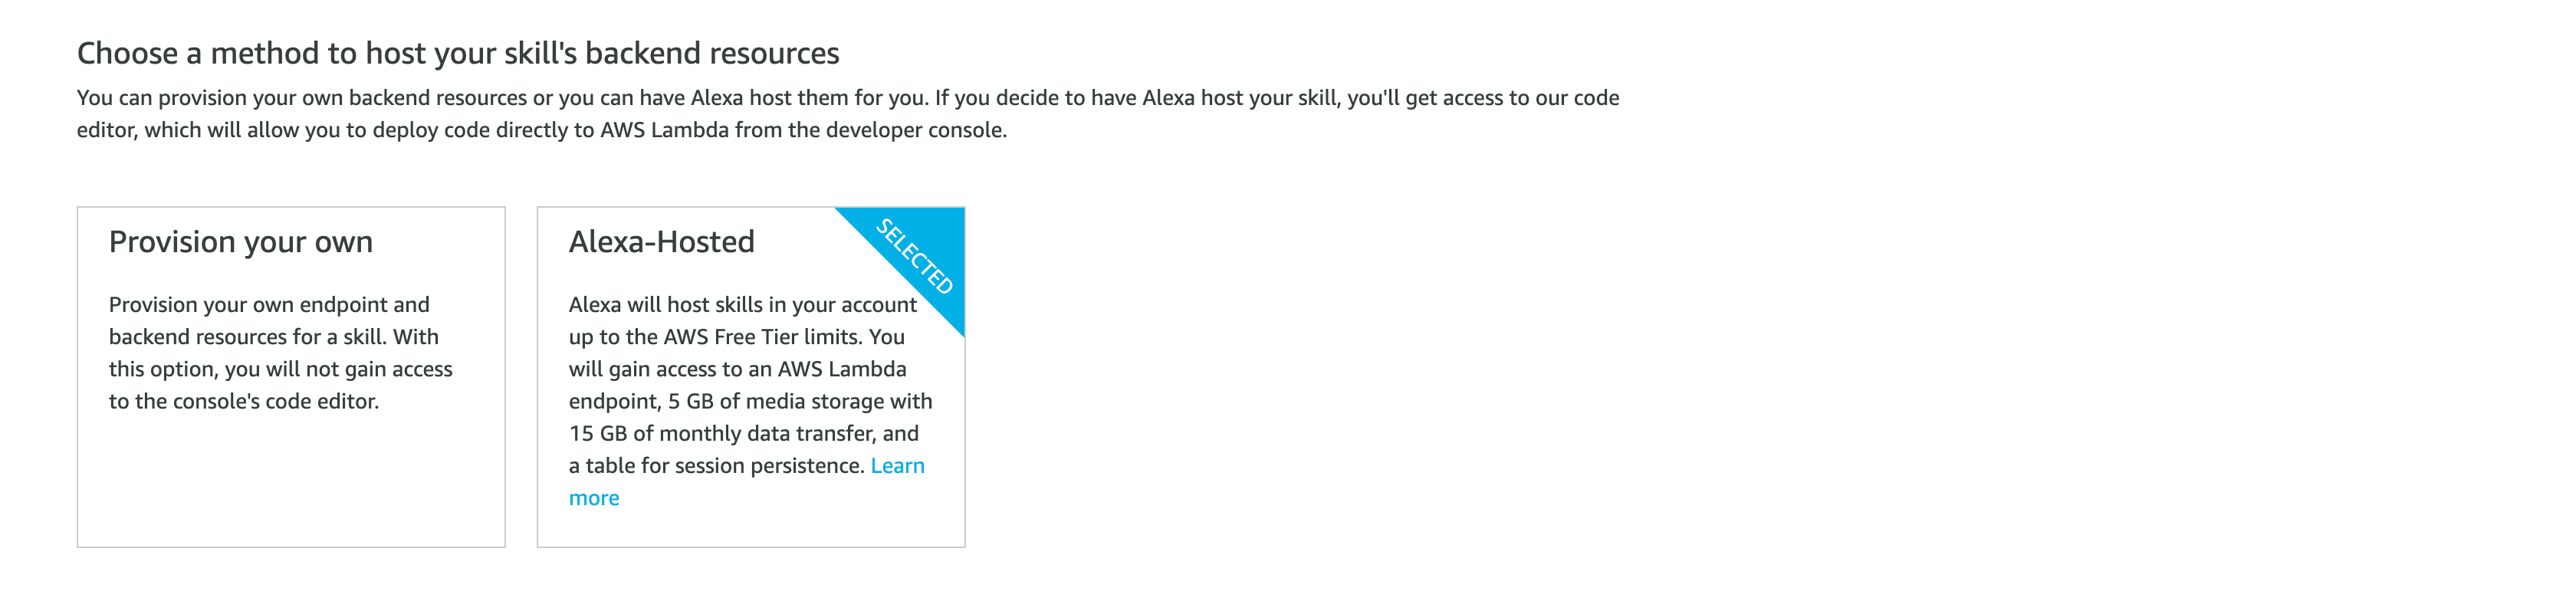
確認資訊都沒問題後,就可以點選上方的 [Create Skill] 按鈕。而這邊需要等它一下,讓它建立聲音模型與建立 backend 等事情。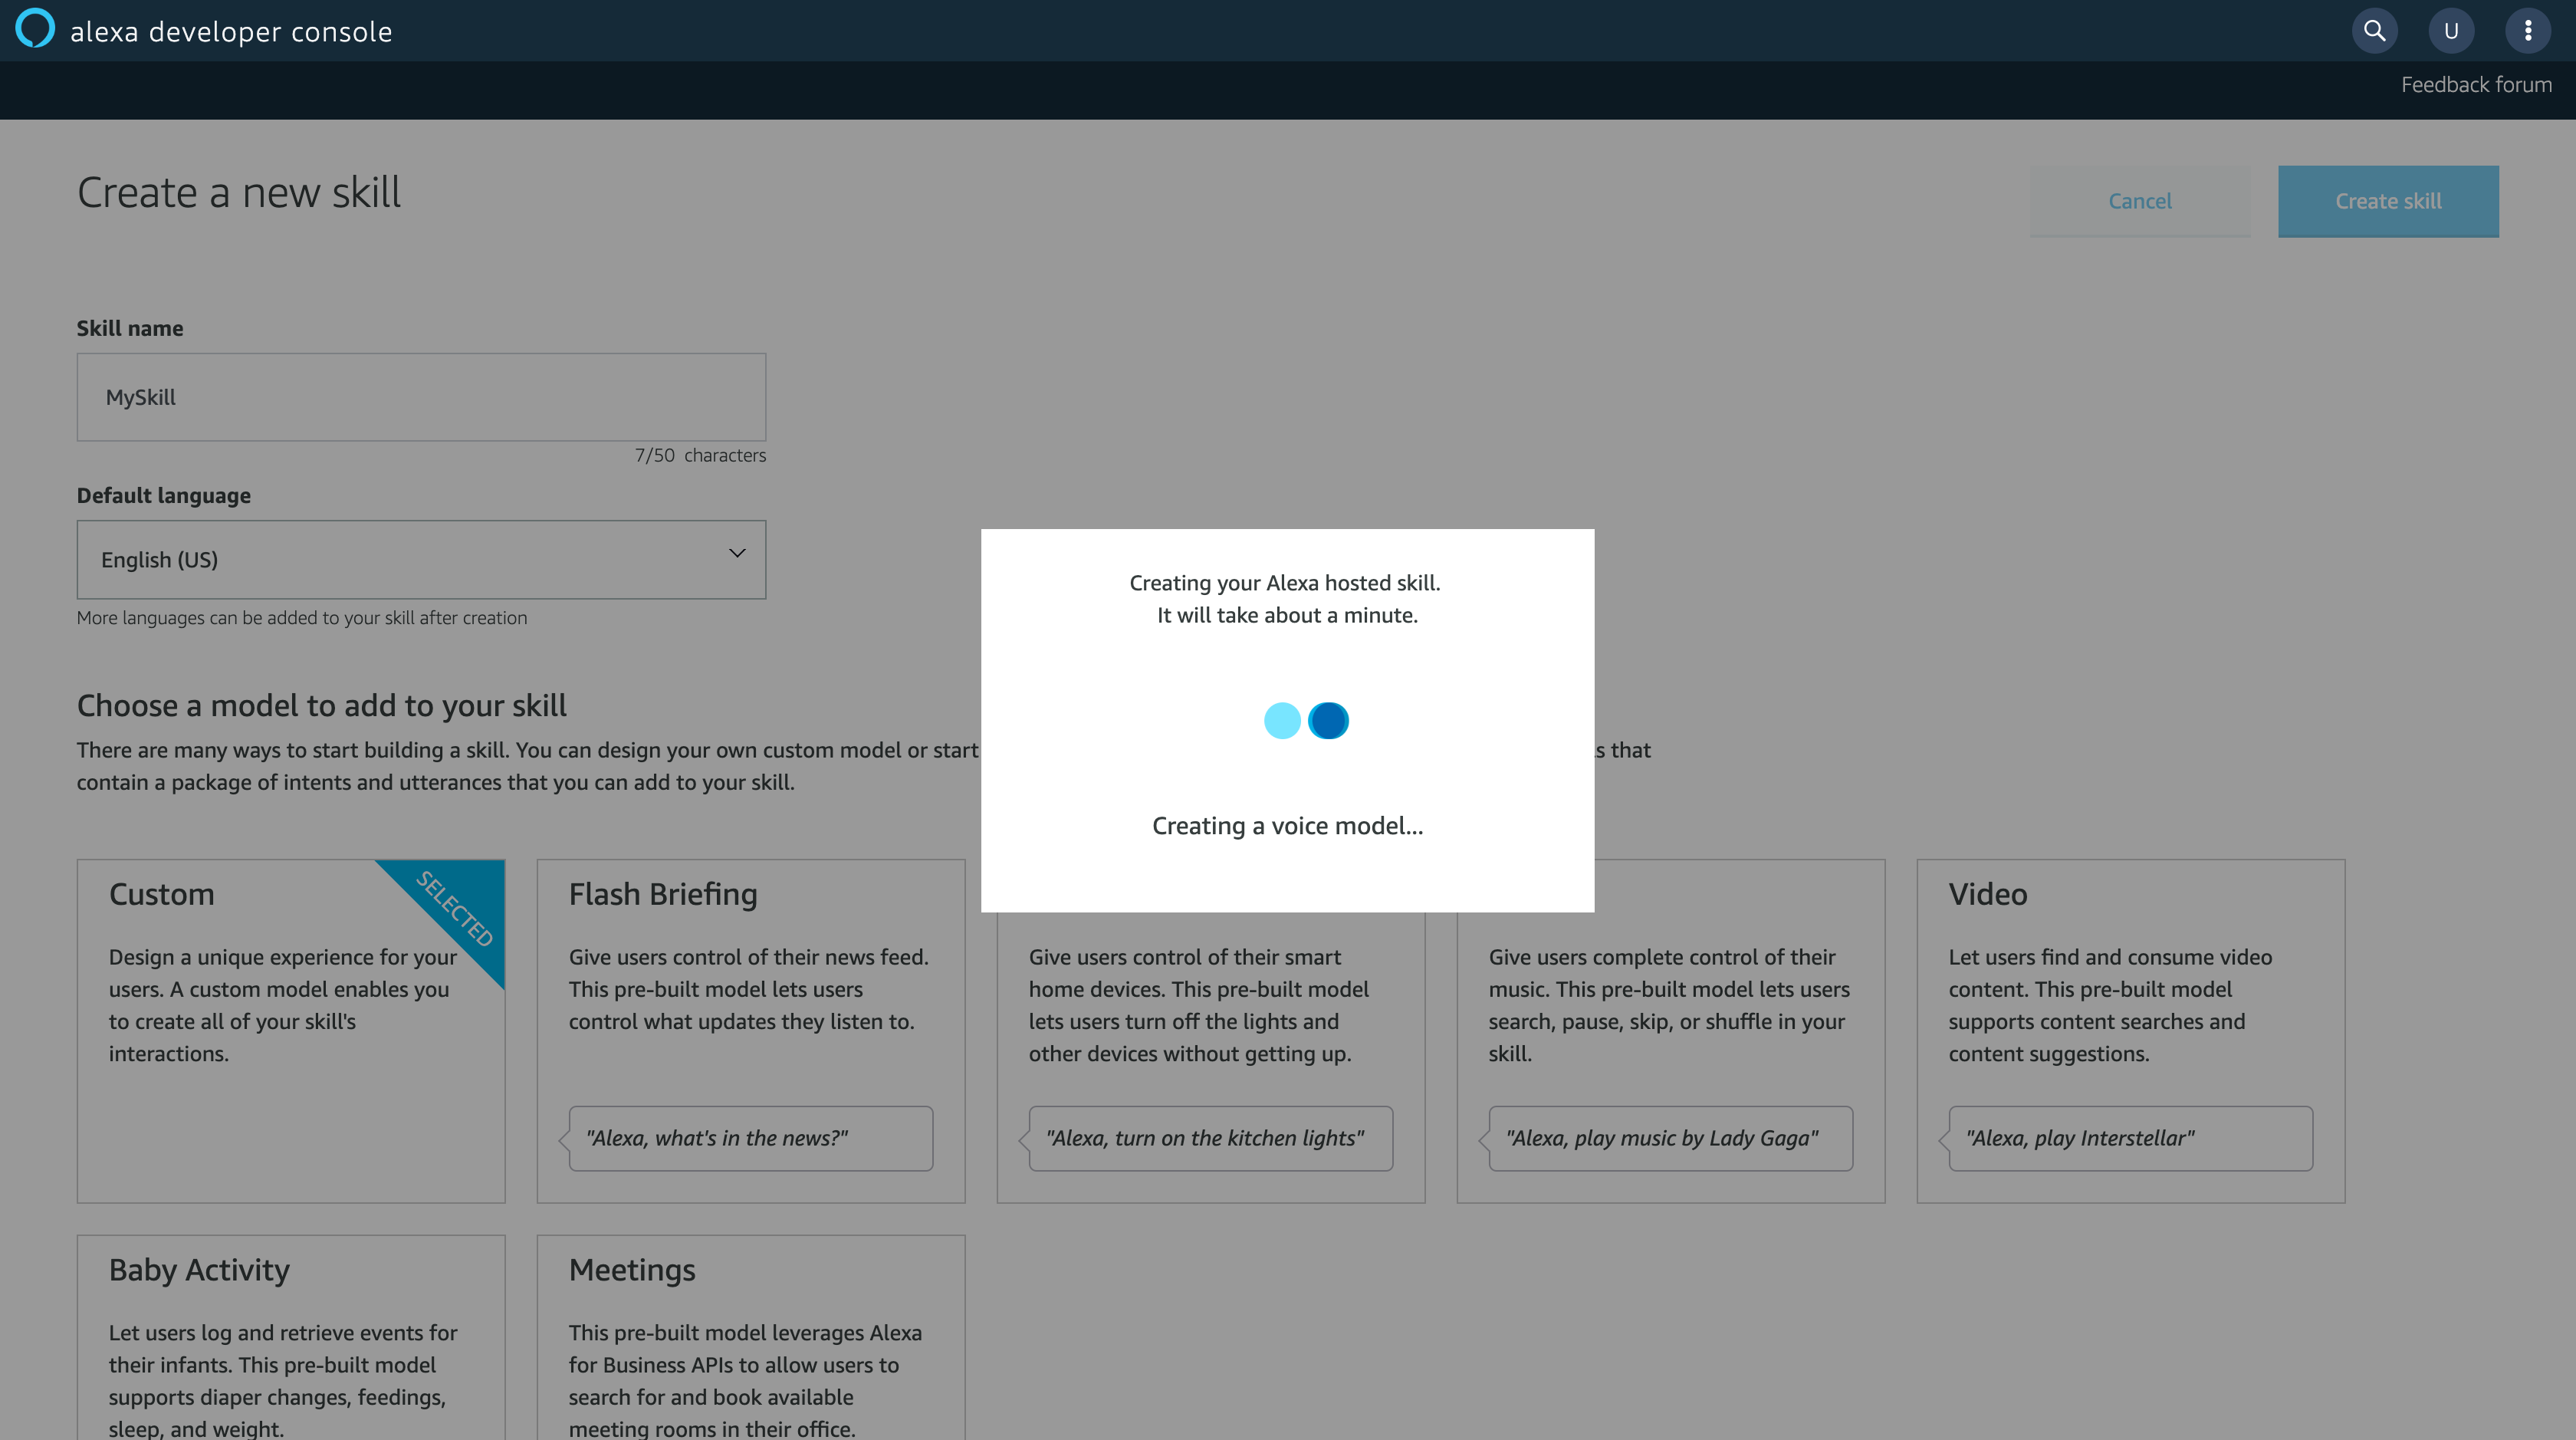
完成後,就會看到類似以下的畫面。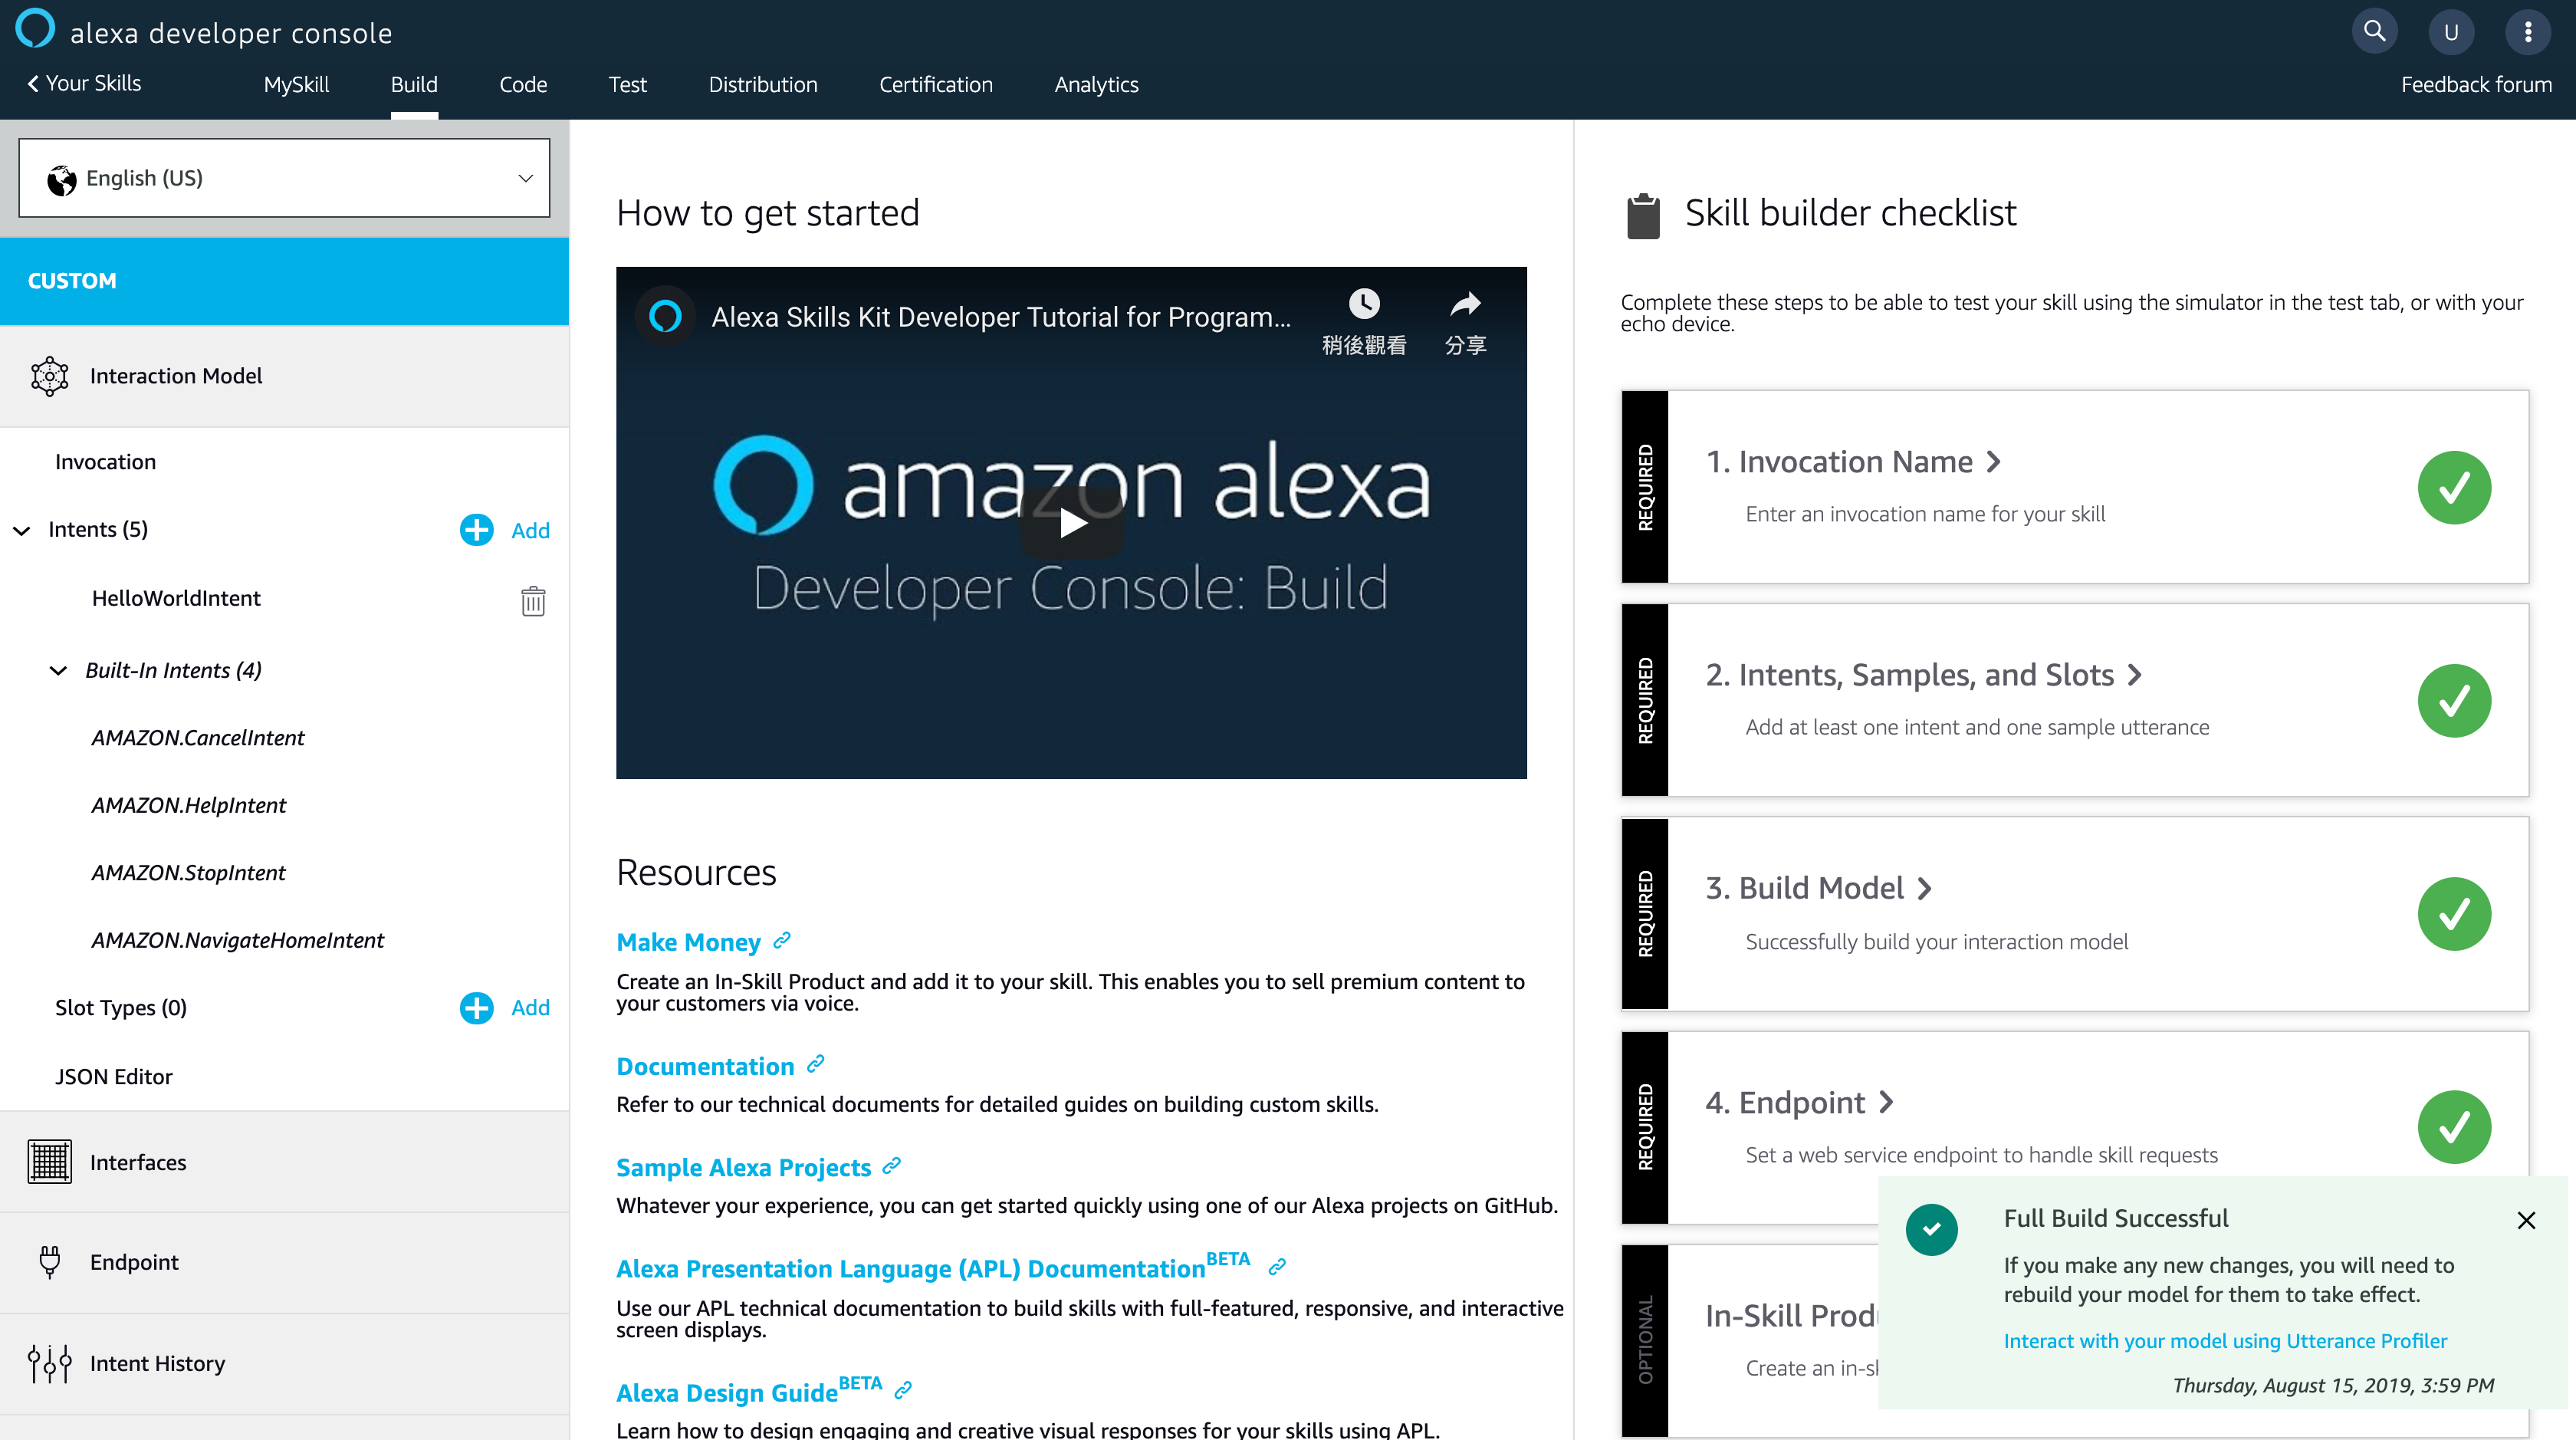
可以看到畫面的左邊的 Interaction Model,這是整個 Skill 最重要部分,Alexa Skill 的觸發與執行的命令都會在這邊。因此,我們先來設定 Alexa Skill 觸發的語音,點選左邊的 [Invocation]。可以看到它都有一些說明,若設定的 Skill Invocation Name 為 myskill 時,使用者對家中的 Alexa 設備說 “Alexa, ask myskill balalala…”,這樣才能觸發這個技能並叫它做對應的事情。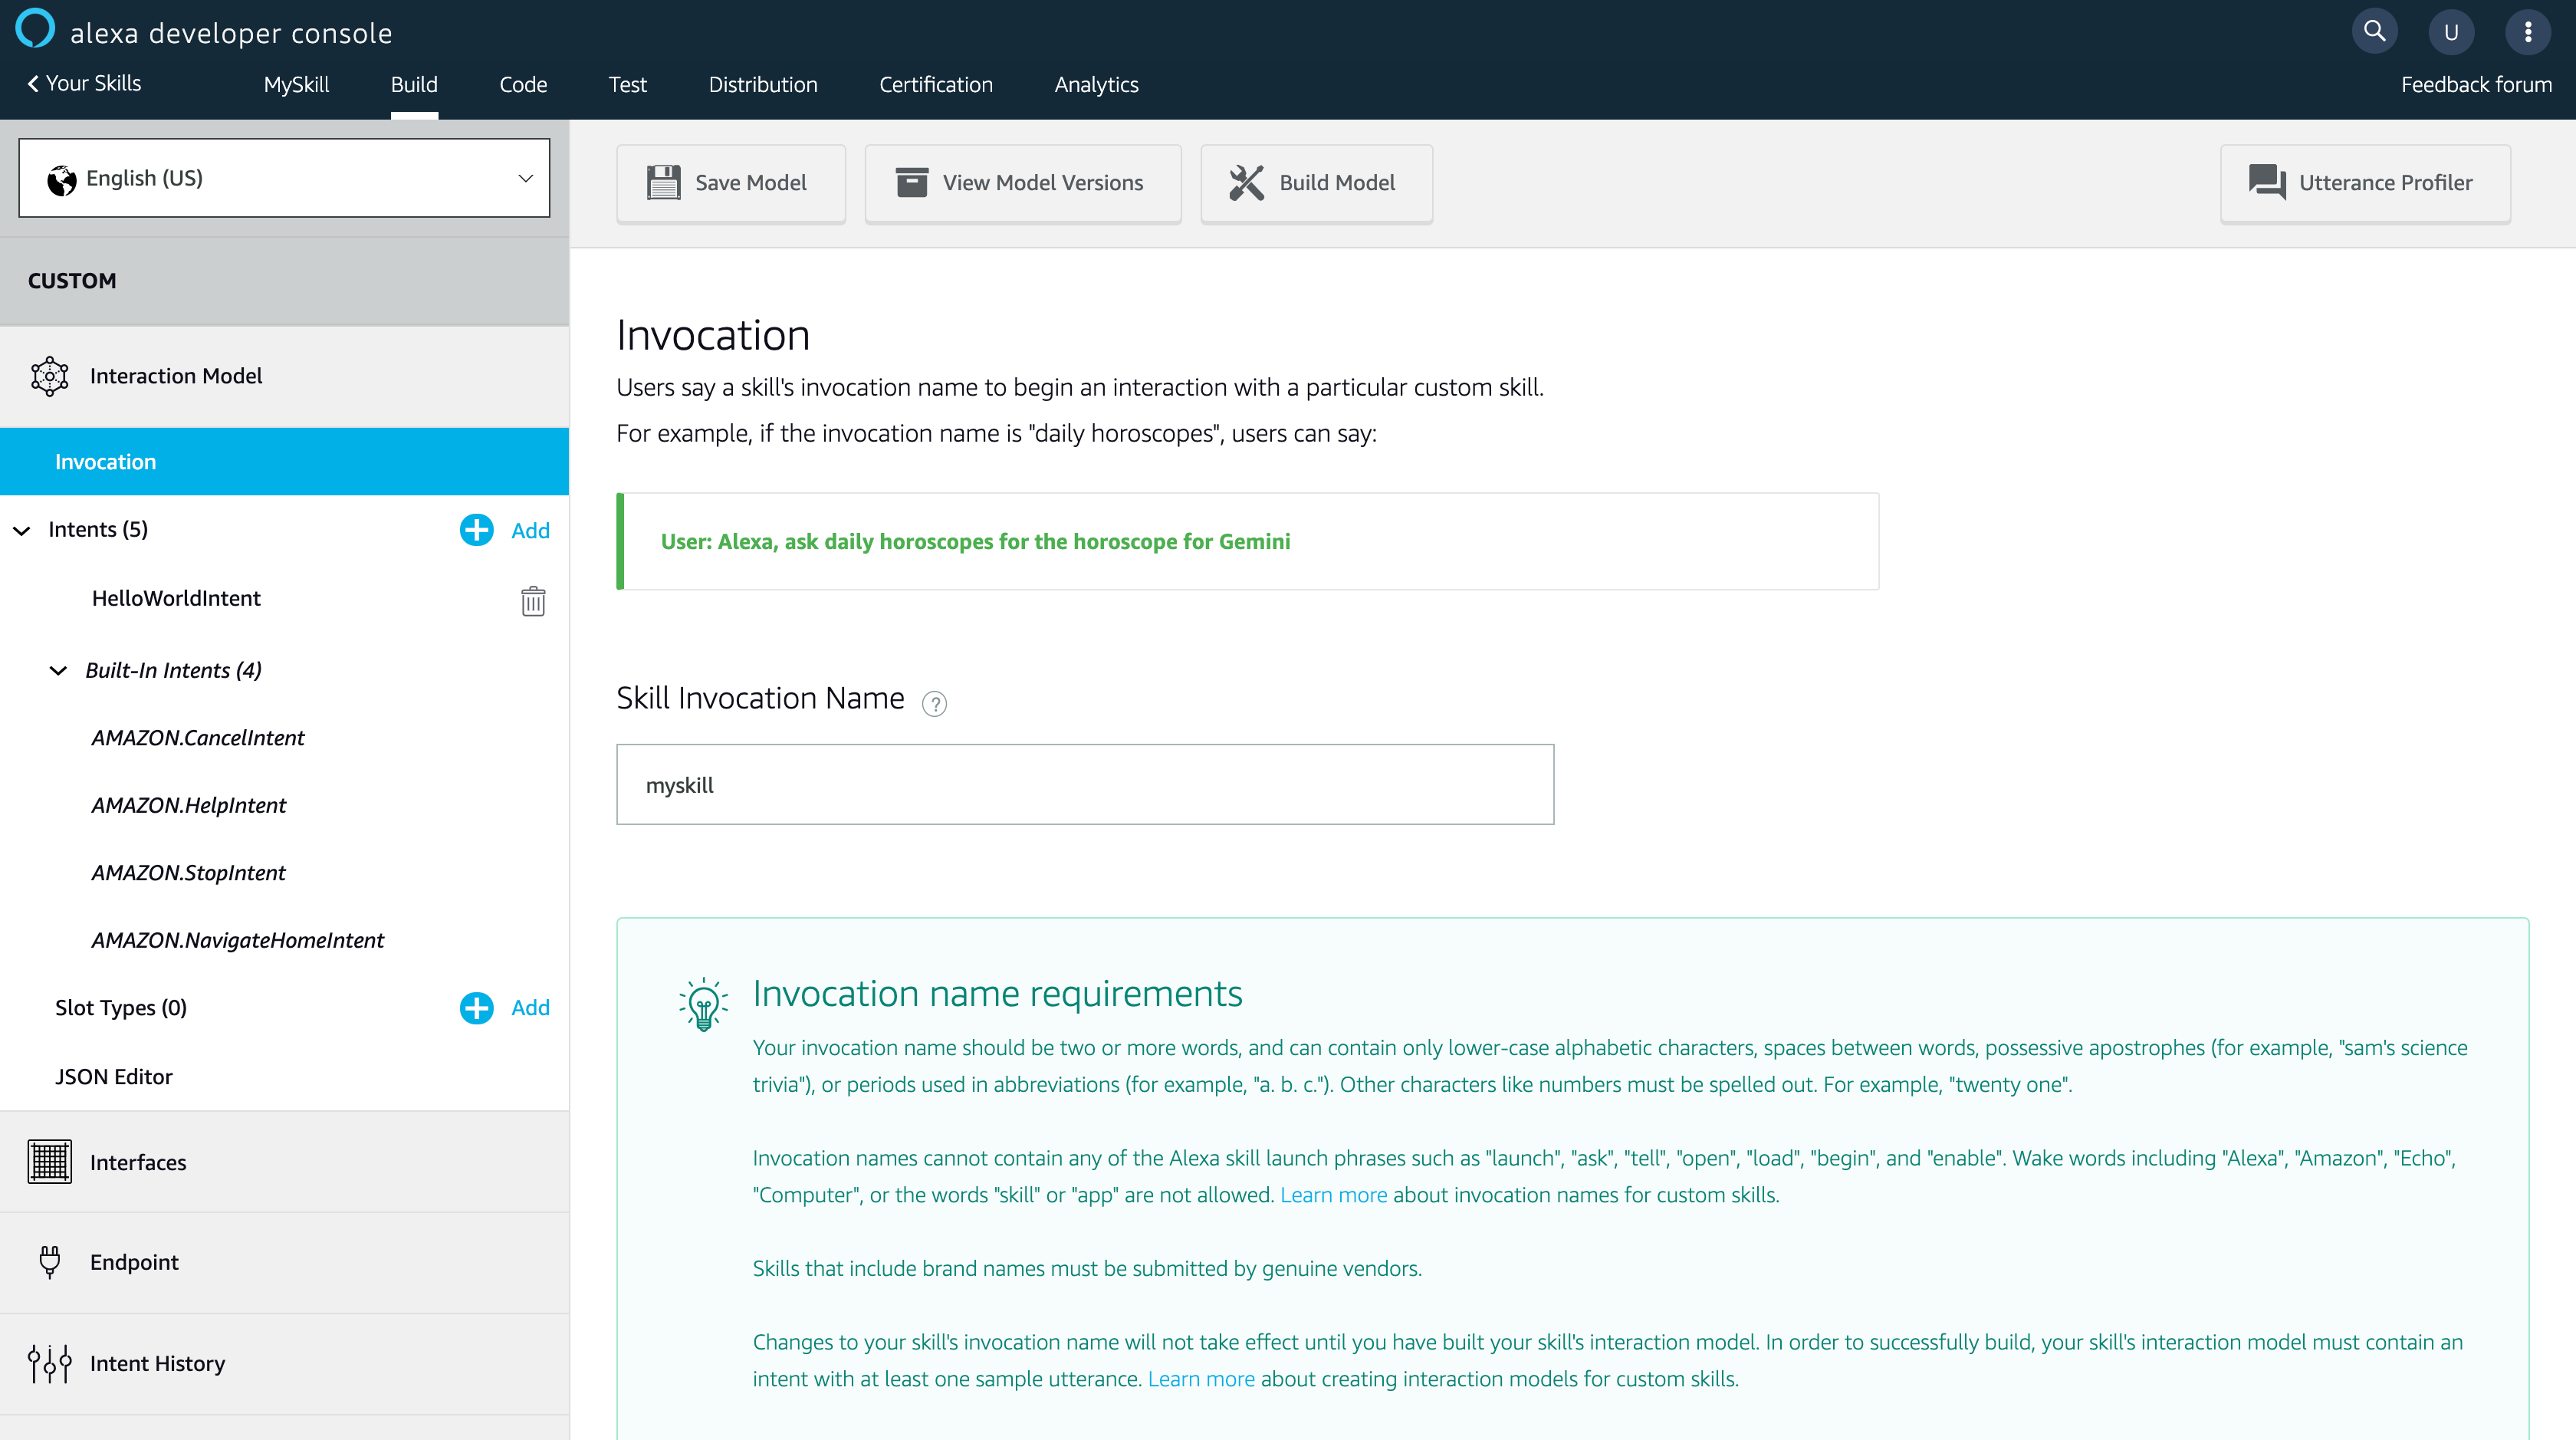
輸入完 [Skill Invocation Name] 後,記得點選上方的 [Sava Model]。
接下來要設定執行的語音指令。這邊我們自己建立一個新的 Intent。點選左邊 Intent 的 [Add] 按鈕。輸入 [Create custom intent] 的名稱。輸入完後,點選 [Create custom intent] 按鈕。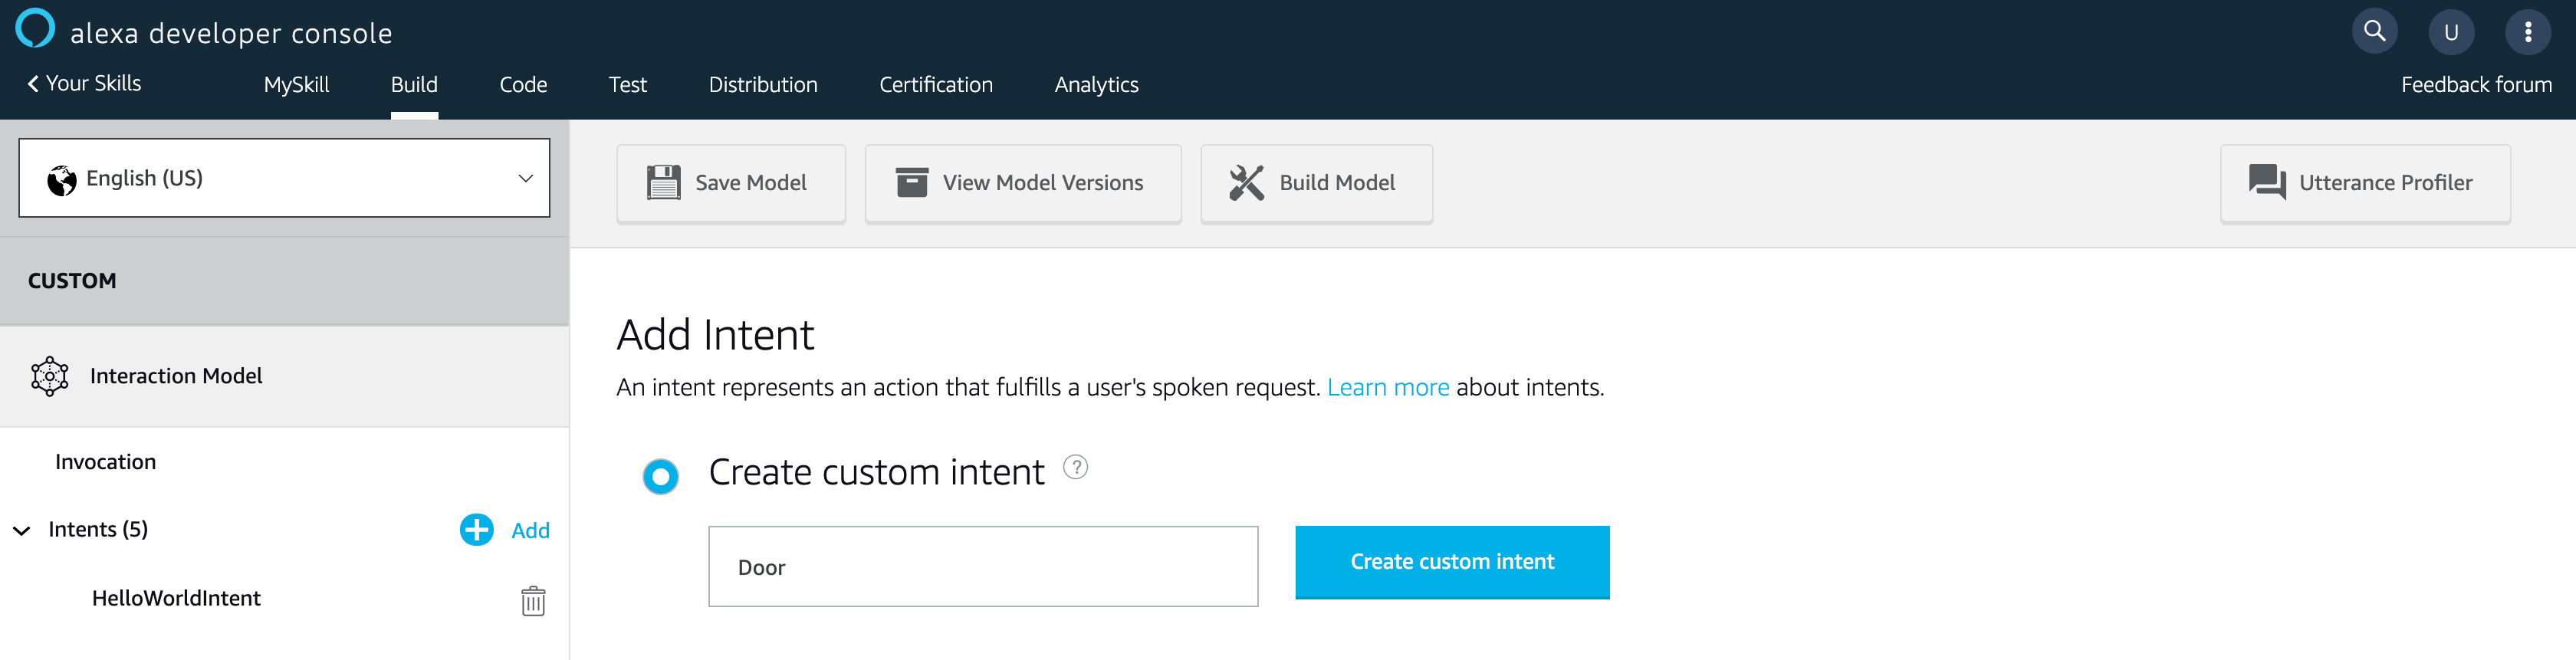
若當初建立 Skill 時選擇 Alexa-Hosted 這邊會幫你自己建立
HelloWorldIntent。
再來設定這個 Inent 的 Sample Utterances 來觸發這個 Intent。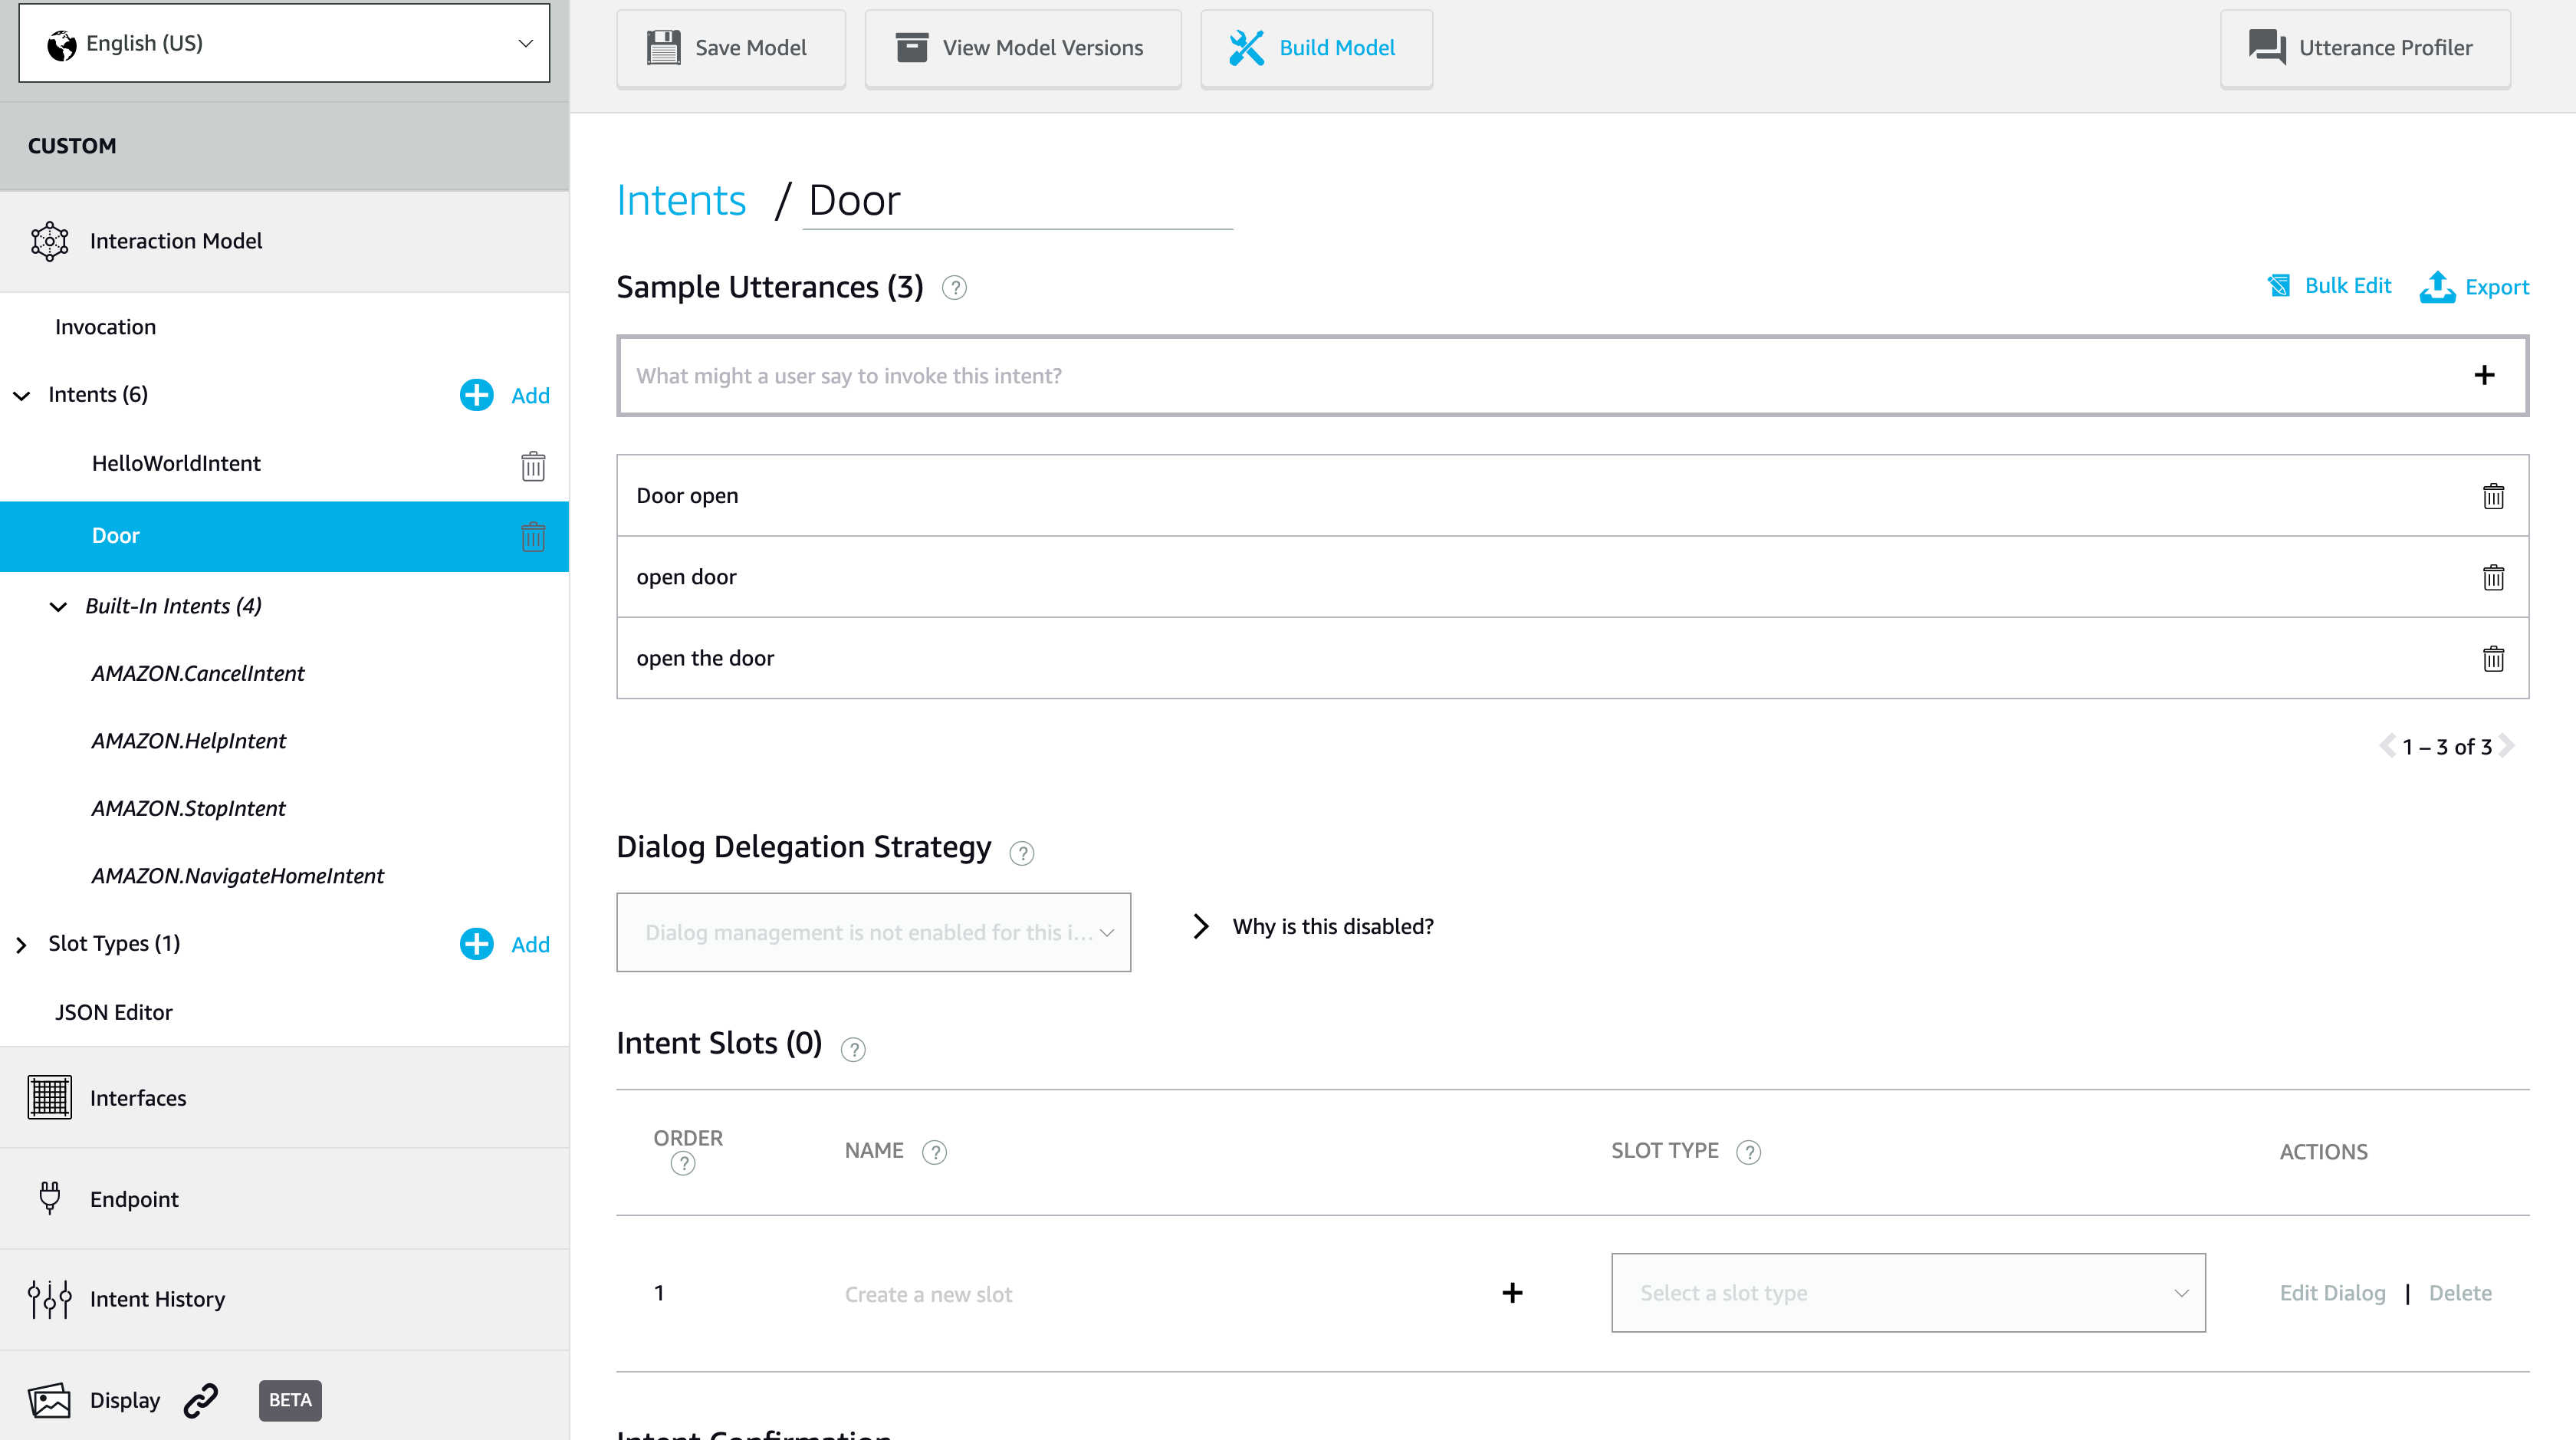
若如上圖設定,則代表我們說出的命令如下:
- Alexa, ask myskill open the door
- Alexa, ask myskill open door
- Alexa, ask myskill door open
設定完成後一樣記得點選上方的 [Save Model]。到這邊我們基本的設定已大致完成,這時候點選旁邊的 [Build Model] 來建立 Invocation 與 Intent 的模型。
訓練完成後,要對新加入的 Intent 來寫一點程式讓它觸發這個 Intent 時要回覆語音。在上方導航列點選 [Code]。
若當初有選 [Alexa-Hosted],在 Code 這邊才會自己建立 Lambda 程式。若沒有選擇,則要自己透過 Amazon Lambda 來建立程式碼,並將 Lambda 與這個 Skill 連結。
Code 中的 Lambda 程式如下,這邊可以很清楚看到程式碼定義了每個 request 與 intent 要做的事情或回覆的語音。// This sample demonstrates handling intents from an Alexa skill using the Alexa Skills Kit SDK (v2).
// Please visit https://alexa.design/cookbook for additional examples on implementing slots, dialog management,
// session persistence, api calls, and more.
const Alexa = require('ask-sdk-core');
const LaunchRequestHandler = {
canHandle(handlerInput) {
return Alexa.getRequestType(handlerInput.requestEnvelope) === 'LaunchRequest';
},
handle(handlerInput) {
const speakOutput = 'Welcome, you can say Hello or Help. Which would you like to try?';
return handlerInput.responseBuilder
.speak(speakOutput)
.reprompt(speakOutput)
.getResponse();
}
};
const HelloWorldIntentHandler = {
canHandle(handlerInput) {
return Alexa.getRequestType(handlerInput.requestEnvelope) === 'IntentRequest'
&& Alexa.getIntentName(handlerInput.requestEnvelope) === 'HelloWorldIntent';
},
handle(handlerInput) {
const speakOutput = 'Hello World!';
return handlerInput.responseBuilder
.speak(speakOutput)
//.reprompt('add a reprompt if you want to keep the session open for the user to respond')
.getResponse();
}
};
const HelpIntentHandler = {
canHandle(handlerInput) {
return Alexa.getRequestType(handlerInput.requestEnvelope) === 'IntentRequest'
&& Alexa.getIntentName(handlerInput.requestEnvelope) === 'AMAZON.HelpIntent';
},
handle(handlerInput) {
const speakOutput = 'You can say hello to me! How can I help?';
return handlerInput.responseBuilder
.speak(speakOutput)
.reprompt(speakOutput)
.getResponse();
}
};
const CancelAndStopIntentHandler = {
canHandle(handlerInput) {
return Alexa.getRequestType(handlerInput.requestEnvelope) === 'IntentRequest'
&& (Alexa.getIntentName(handlerInput.requestEnvelope) === 'AMAZON.CancelIntent'
|| Alexa.getIntentName(handlerInput.requestEnvelope) === 'AMAZON.StopIntent');
},
handle(handlerInput) {
const speakOutput = 'Goodbye!';
return handlerInput.responseBuilder
.speak(speakOutput)
.getResponse();
}
};
const SessionEndedRequestHandler = {
canHandle(handlerInput) {
return Alexa.getRequestType(handlerInput.requestEnvelope) === 'SessionEndedRequest';
},
handle(handlerInput) {
// Any cleanup logic goes here.
return handlerInput.responseBuilder.getResponse();
}
};
// The intent reflector is used for interaction model testing and debugging.
// It will simply repeat the intent the user said. You can create custom handlers
// for your intents by defining them above, then also adding them to the request
// handler chain below.
const IntentReflectorHandler = {
canHandle(handlerInput) {
return Alexa.getRequestType(handlerInput.requestEnvelope) === 'IntentRequest';
},
handle(handlerInput) {
const intentName = Alexa.getIntentName(handlerInput.requestEnvelope);
const speakOutput = `You just triggered ${intentName}`;
return handlerInput.responseBuilder
.speak(speakOutput)
//.reprompt('add a reprompt if you want to keep the session open for the user to respond')
.getResponse();
}
};
// Generic error handling to capture any syntax or routing errors. If you receive an error
// stating the request handler chain is not found, you have not implemented a handler for
// the intent being invoked or included it in the skill builder below.
const ErrorHandler = {
canHandle() {
return true;
},
handle(handlerInput, error) {
console.log(`~~~~ Error handled: ${error.stack}`);
const speakOutput = `Sorry, I had trouble doing what you asked. Please try again.`;
return handlerInput.responseBuilder
.speak(speakOutput)
.reprompt(speakOutput)
.getResponse();
}
};
// The SkillBuilder acts as the entry point for your skill, routing all request and response
// payloads to the handlers above. Make sure any new handlers or interceptors you've
// defined are included below. The order matters - they're processed top to bottom.
exports.handler = Alexa.SkillBuilders.custom()
.addRequestHandlers(
LaunchRequestHandler,
HelloWorldIntentHandler,
HelpIntentHandler,
CancelAndStopIntentHandler,
SessionEndedRequestHandler,
IntentReflectorHandler, // make sure IntentReflectorHandler is last so it doesn't override your custom intent handlers
)
.addErrorHandlers(
ErrorHandler,
)
.lambda();
我們剛建立了一個 Intent,也需要在這段程式碼中加入 Handler 讓 Intent 被出發時做出相對應的事情://...
const DoorIntentHandler = {
canHandle(handlerInput) {
return Alexa.getRequestType(handlerInput.requestEnvelope) === 'IntentRequest'
&& Alexa.getIntentName(handlerInput.requestEnvelope) === 'Door';
},
handle(handlerInput) {
const speakOutput = 'Door Open!';
return handlerInput.responseBuilder
.speak(speakOutput)
.getResponse();
}
};
//...
exports.handler = Alexa.SkillBuilders.custom()
.addRequestHandlers(
LaunchRequestHandler,
HelloWorldIntentHandler,
DoorIntentHandler, // 加入這行剛剛加上的 Handler
HelpIntentHandler,
CancelAndStopIntentHandler,
SessionEndedRequestHandler,
IntentReflectorHandler,
)
.addErrorHandlers(
ErrorHandler,
)
.lambda();
完成後,點擊上方 [Save] 並且 [Deploy]。
測試 Alexa Skill
部署完成後,點選上方導航列的 Test,並且將 [Skill testing is enabled in] 切換成 Development。接著,我們就可以在下方輸入框輸入想說的話來測試 Skill。
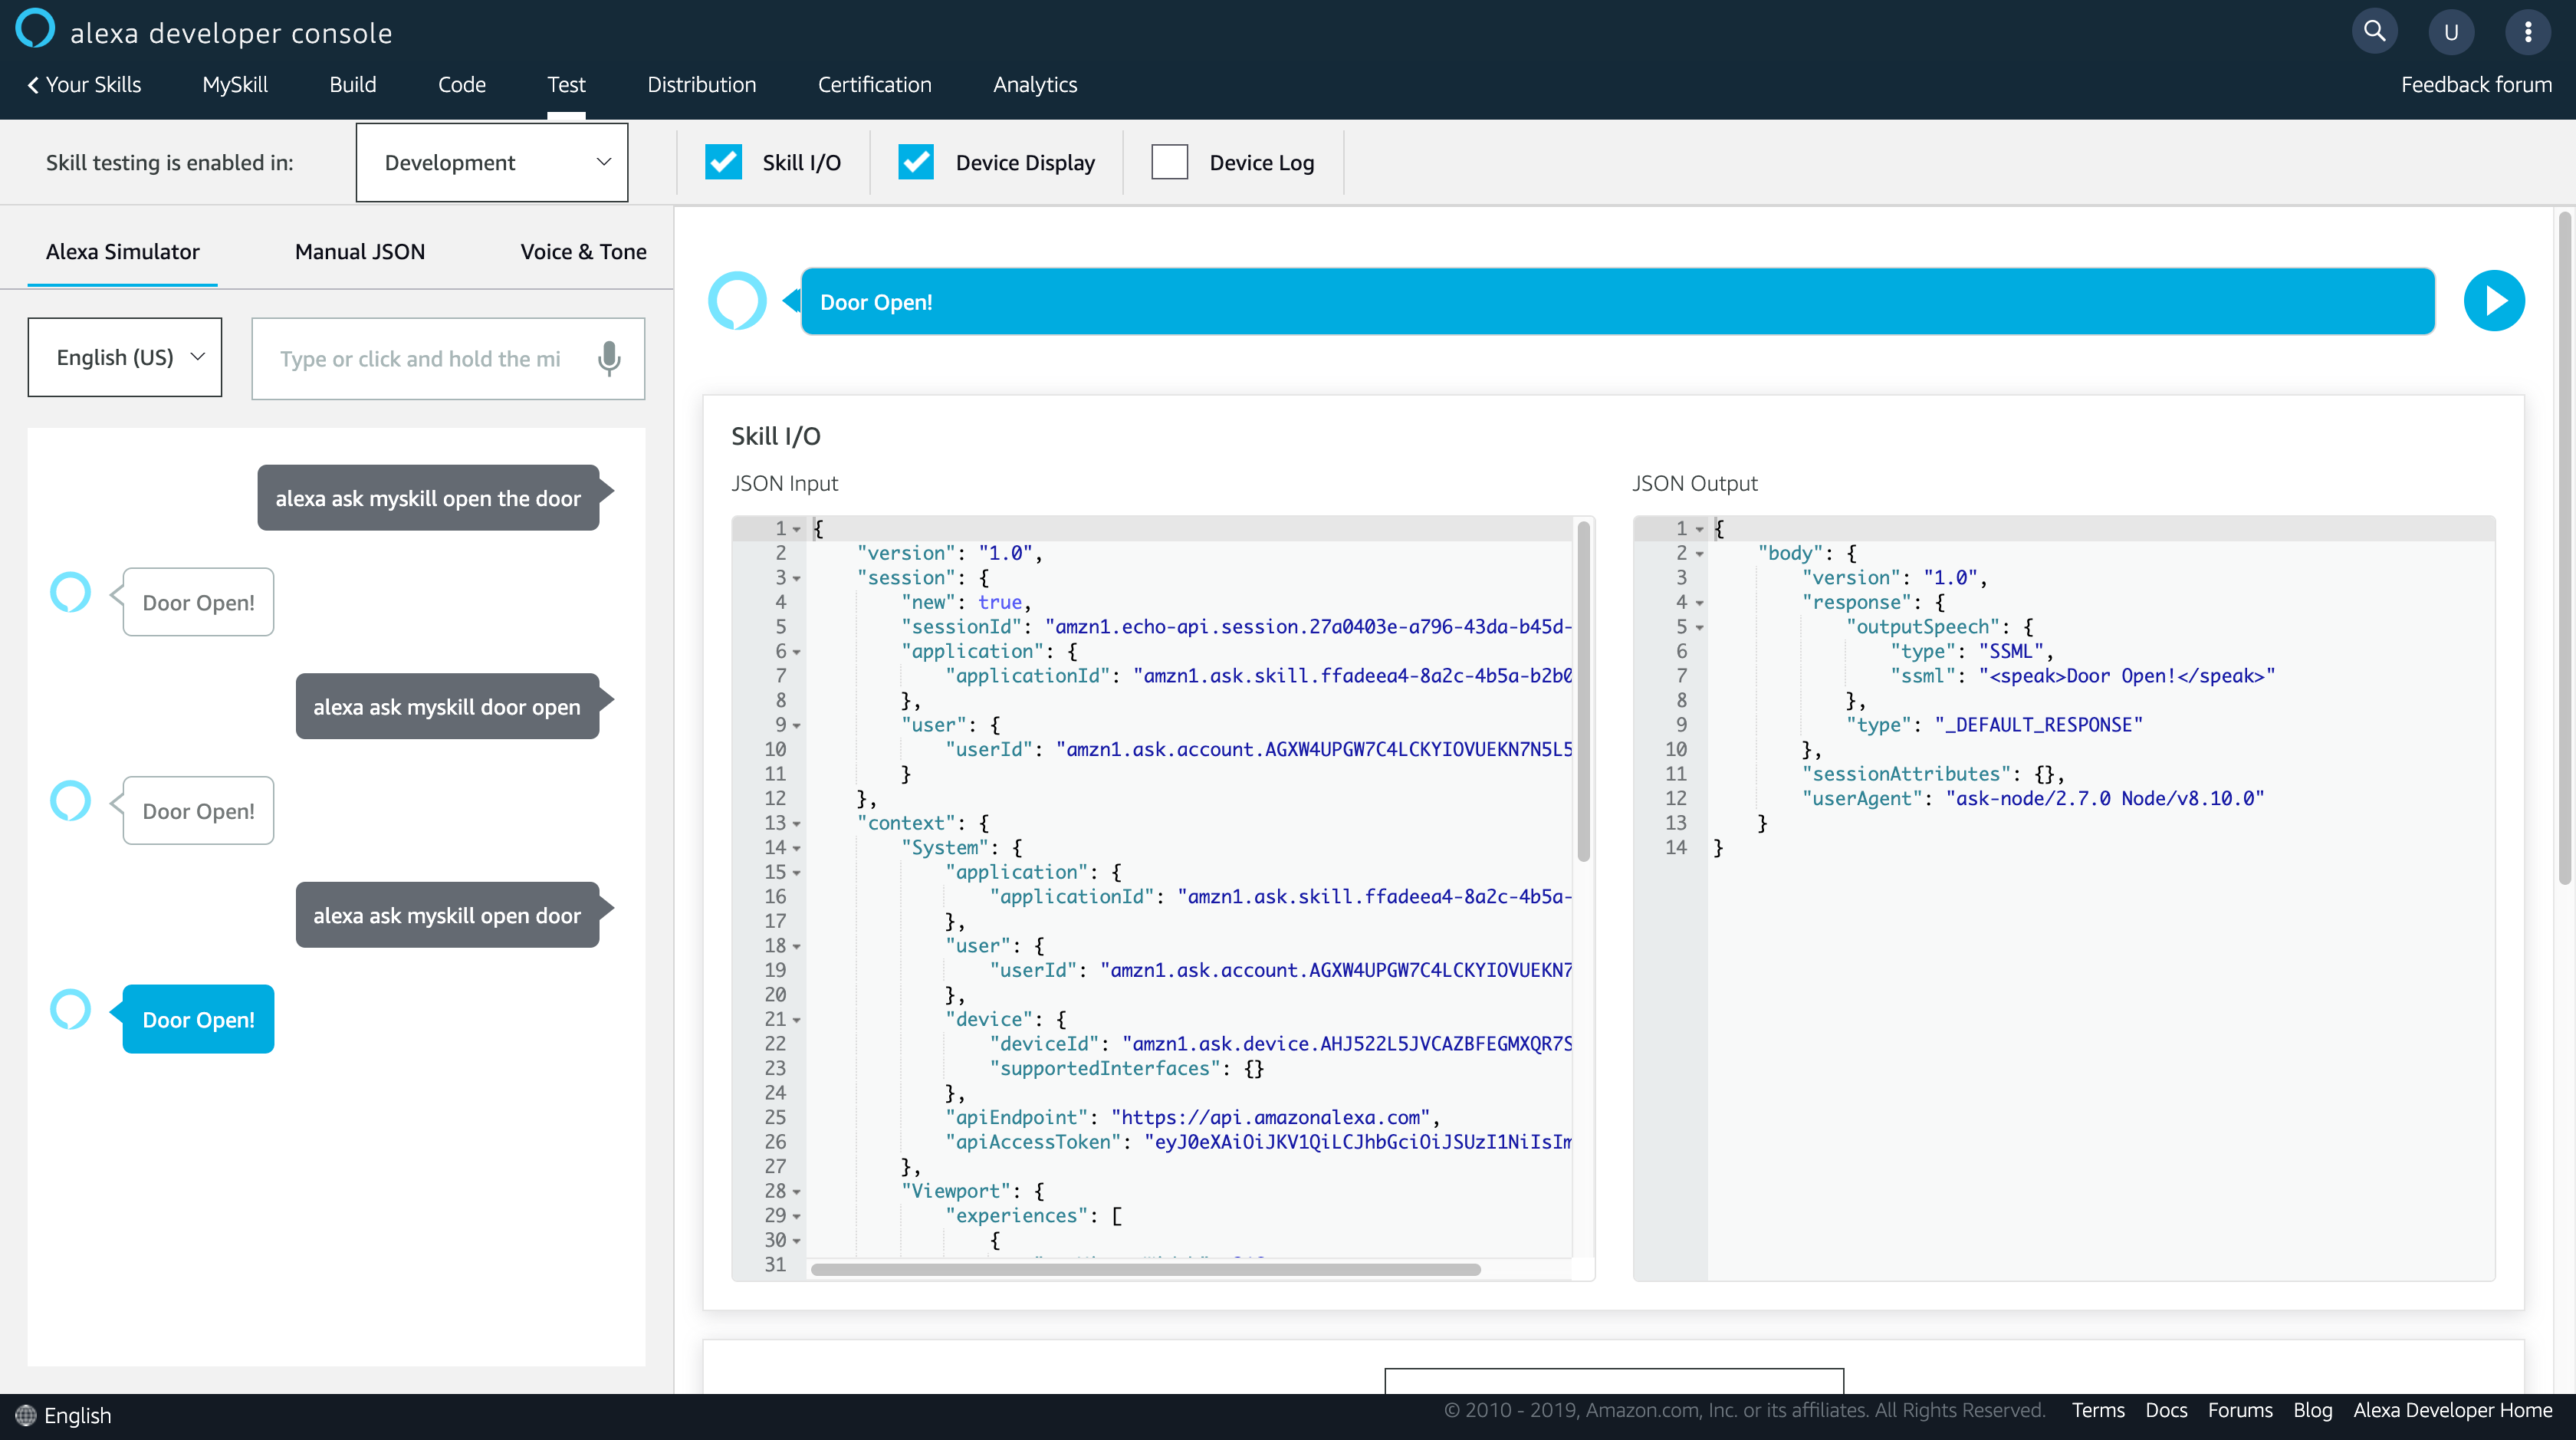
可以看到有如預期的回覆,這樣一個簡單的客製化 Alexa Skill 大功告成!